Labels

Showing posts with label Lovely Gnome's Essentials. Show all posts

Monday, June 22, 2015

Bubble Spotlight: Hunny Nut Bubbles

What is it?


This is Hunny Nut Bubbles, my super moisturizing soap.
I use this soap regularly and it is a great wedding gift!
This soap comes most commonly in squares, but I can make oval shaped bars if prefered.


Hunny Nut Bubbles is made from a Shea Butter soap base. Added into it is honey, oats, and sweet almond oil.

What is it good for?


This soap is incredibly moisturizing. Making soap, I tend to wash my hands a lot to keep minimal cross-contamination. When washing your hands a lot, the skin tends to dry out.

Not with this soap.

The oats exfoliate your skin, taking off the dry flakes. Then, the honey provides antioxidant properties. Finally, the sweet almond oil re-moisturizes your skin, leaving it soft and smooth.

Sounds great! Where can I find it?


Same with all my soaps, you can find it in my shop! You can click the link HERE, or the link is also in the sidebar.

Thanks for reading!

"As far as the east is from the west, so far does he remove our transgressions from us." Psalm 103:12

Sunday, May 31, 2015

Bubble Spotlight: Salted Honey Soap

Hello blogging world! Yes, I have been missing for a bit, but so much has happened these past few weeks since my last post. I will soon post about these past few weeks, but first, my new series!

This series, I am going to be putting one of my soaps in the spotlight. They will contain a description of what it is, and also what it's properties are! I hope you enjoy, and be sure to check out my Etsy Shop. You will find the link to Lovely Gnome's Essentials on my sidebar.

So, What is it?

Salted Honey Soap.

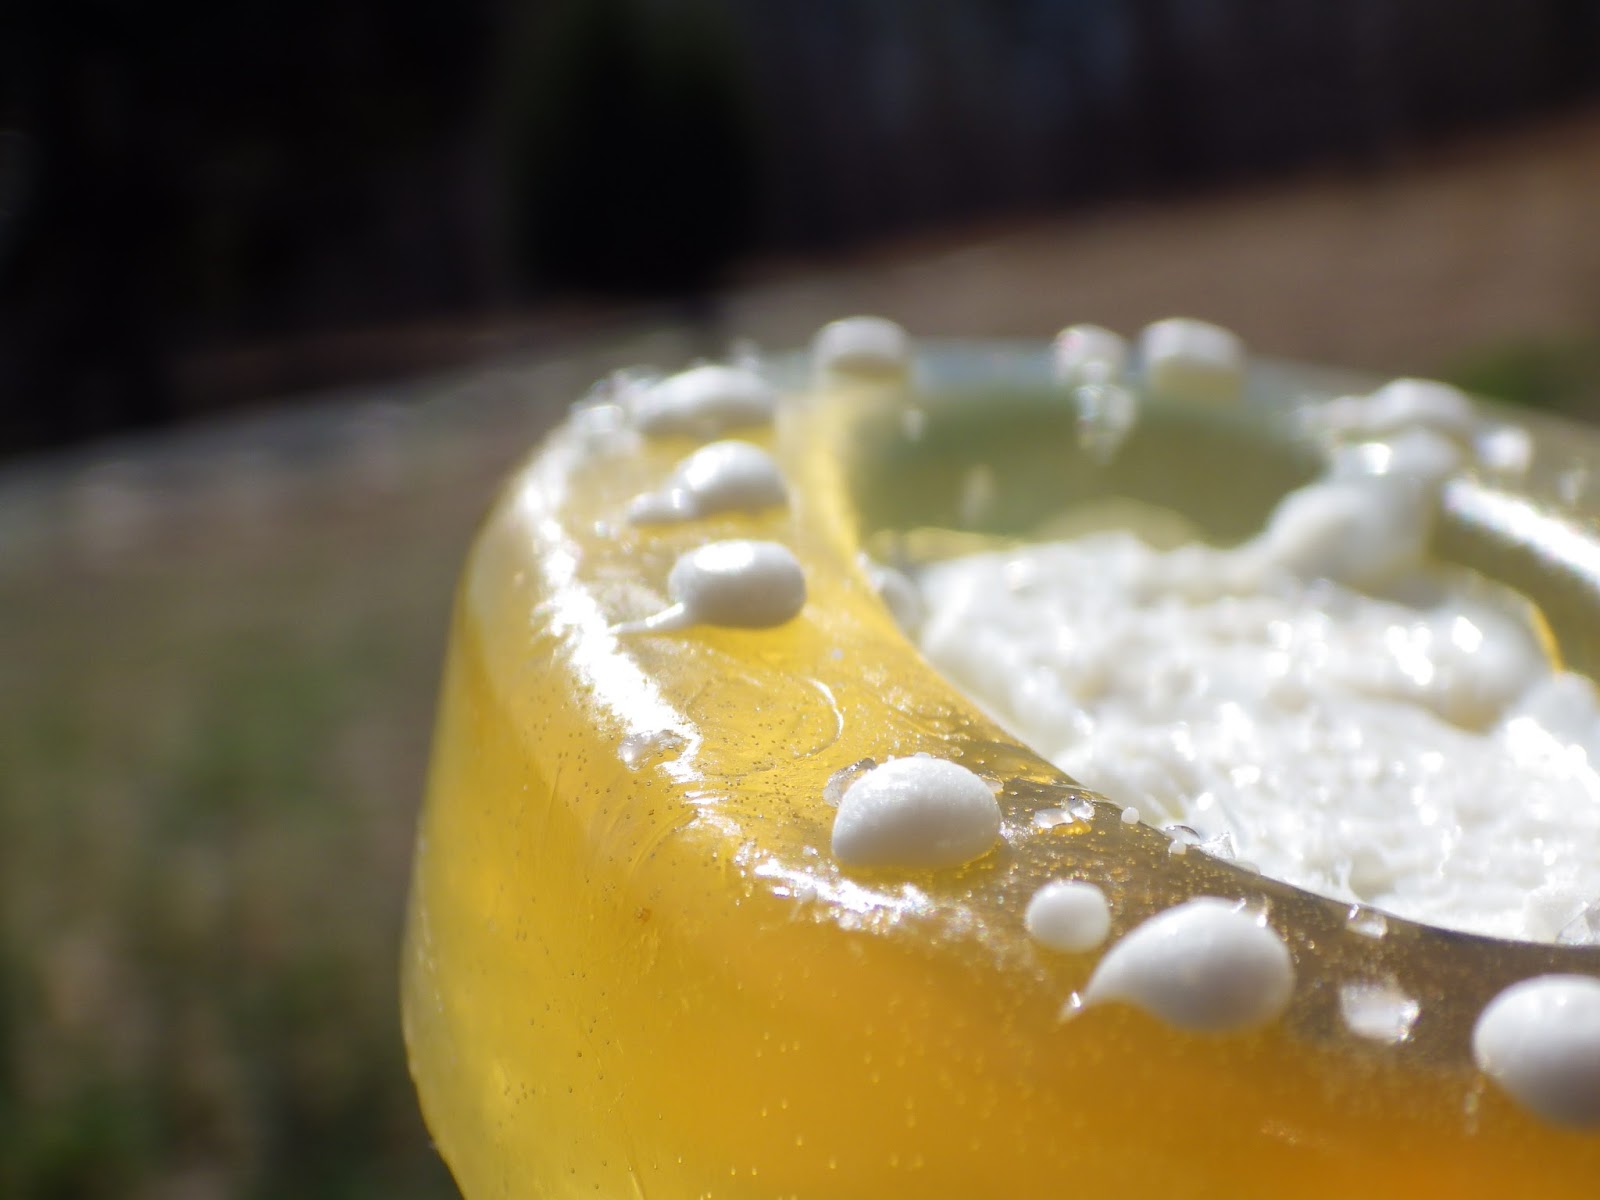
Isn't it pretty? My sister is such a great photographer.

This is one of my soaps that comes in two different shapes. The plain oval bar has a unique design on the top and the raised oval has the Shea butter in the center. Both are about 3 oz bars, but each one is unique in its own little way.

The base is made with clear glycerin, melt and pour soap base and honey. The white design is also soap! It is a Shea butter base with a little honey added to it as well. Then, both are topped with a sprinkle of sea salt.

What is it good for? Why salt?


The honey and Shea butter in this soap help moisturize your skin.
Honey is also an antioxidant. It helps your disease-fighting skills and also, when used lightly on the face, can help prevent acne and other such problems.
And why the salt? Salt detoxifies your skin. This gives it an almost relaxing feel. This is why you find it in detoxifying bath solutions.
This soap will leave you with sweet smelling and smooth hands.

Sounds great! Where can I find it?

There is a link on my sidebar, or you can click HERE to go straight to the listing in my Etsy Shop.

Thanks for reading! Tune in soon for more Bubble Spotlights and life as the Lovely Gnome!

"As far as the east is from the west, so far does he remove our transgressions from us." Psalm 103:12

Monday, March 9, 2015

The Pinwheel

Oh my goodness, this soap was so fun to make.

One thing I have found out about this hobby of mine, it takes a lot of patience. I don't have a lot of patience, so this is teaching me how to be. I have ruined a total of two soaps from being impatient.
So, yay for a hobby that teaches me something!!!

Back to the actual soap....

It took a few steps, and I forgot to take pictures for each one, but the making of the pinwheel is great. I took three ounces of white soap base, microwaved it for 25 seconds, and put a tiny bit of liquid glycerin into the melted soap. Somewhere around 1/3 of an ounce. (I just eyeballed it, and it still turned out great!) Then this went onto a cookie sheet covered with wax paper. Basically, it just needed to be flat.

I did the same thing to another three ounces, but this time, I added a bit of color to it. I wanted it to be blue, but decided as I was adding little bits of color that I liked this shade of purple a lot better!

I sprayed the first layer with rubbing alcohol, and then added the purple soap base once it was not too hot.

Once it set after a few minutes, I took it off the cookie sheet and rolled it.

The result?


I ended up with nine, half inch thick pinwheels!!

And oh how much fun this soap was to make!

Now, what do you do with pinwheels??

I'm glad you asked.

You can just use the pinwheels, but they are not very large bars and wouldn't last very long...but they will clean your hands!

But today, I made Pinwheel Soap.


First, I stuck one of my pinwheels into the mold and sprayed it with rubbing alcohol. I may have sprayed it too much, which made a few imperfections in the final bar.

Melting 2.5 oz of soap, I added a little bit of Crisp Cotton scent, a sample I received. I added two drops. This scent is SUPER strong, at least to my sensitive senses. 


 I let the melted base cool for a little bit, and poured it around the pinwheel. This is something I definitely need to work on a bit more. Embeds are harder than they seem!

 Here is my finished pinwheel soap! You can see the little imperfections from the too much rubbing alcohol, but hey, I'm not a professional. Not yet anyway!!


Tuesday, March 3, 2015

Rubber Ducky Fun

Today I finally figured out how to make a rubber ducky soap.

I have made several attempts...


Yeah...don't even ask about the last one...I tried making soap foam, and it just failed...
I know several ways on how not to do it.

But today, I have redeemed myself. I made a rubber ducky soap that actually looks like something that I can sell!

So, to start out, we of course need the materials.
I used about 3 oz of clear glycerin soap base. (I get mine from Hobby Lobby, because they put it on sale a lot and I am still experimenting for now!)
When I'm only melting small amounts at a time, I just pop the base into the microwave for about 20 seconds. If its not completely melted, another 10 seconds is usually enough to get it melted all the way through.


I also added some color to my soap. This lovely color I got from Bramble Berry, and have really enjoyed it so far.


After melting, and adding the color, I added a small bit of the melted base to the bottom of the mold and sprayed it with rubbing alcohol. I love using silicone molds because the soaps come out so easily!
Then I sprayed little shea butter soap base shavings and the rubber duck with rubbing alcohol, placing them into the blue soap base.


This small layer keeps the duck and shavings in place when I add the rest of the soap base. Once it hardened, I put the rest of the soap base into the mold.
Something I have to remember, is to make sure the soap base isn't too hot. If I add it when it's too hot, it'll just melt right through the bottom layer, then the duck and shavings will just float away...
(Yes, I did find this out the hard way.)

After letting it harden for 45 minutes, I had my Rubber Ducky Fun soap!!


I was so excited to finally get this done the proper way. Practice does make perfect!!