I have made several attempts...


Yeah...don't even ask about the last one...I tried making soap foam, and it just failed...
I know several ways on how not to do it.
But today, I have redeemed myself. I made a rubber ducky soap that actually looks like something that I can sell!
So, to start out, we of course need the materials.
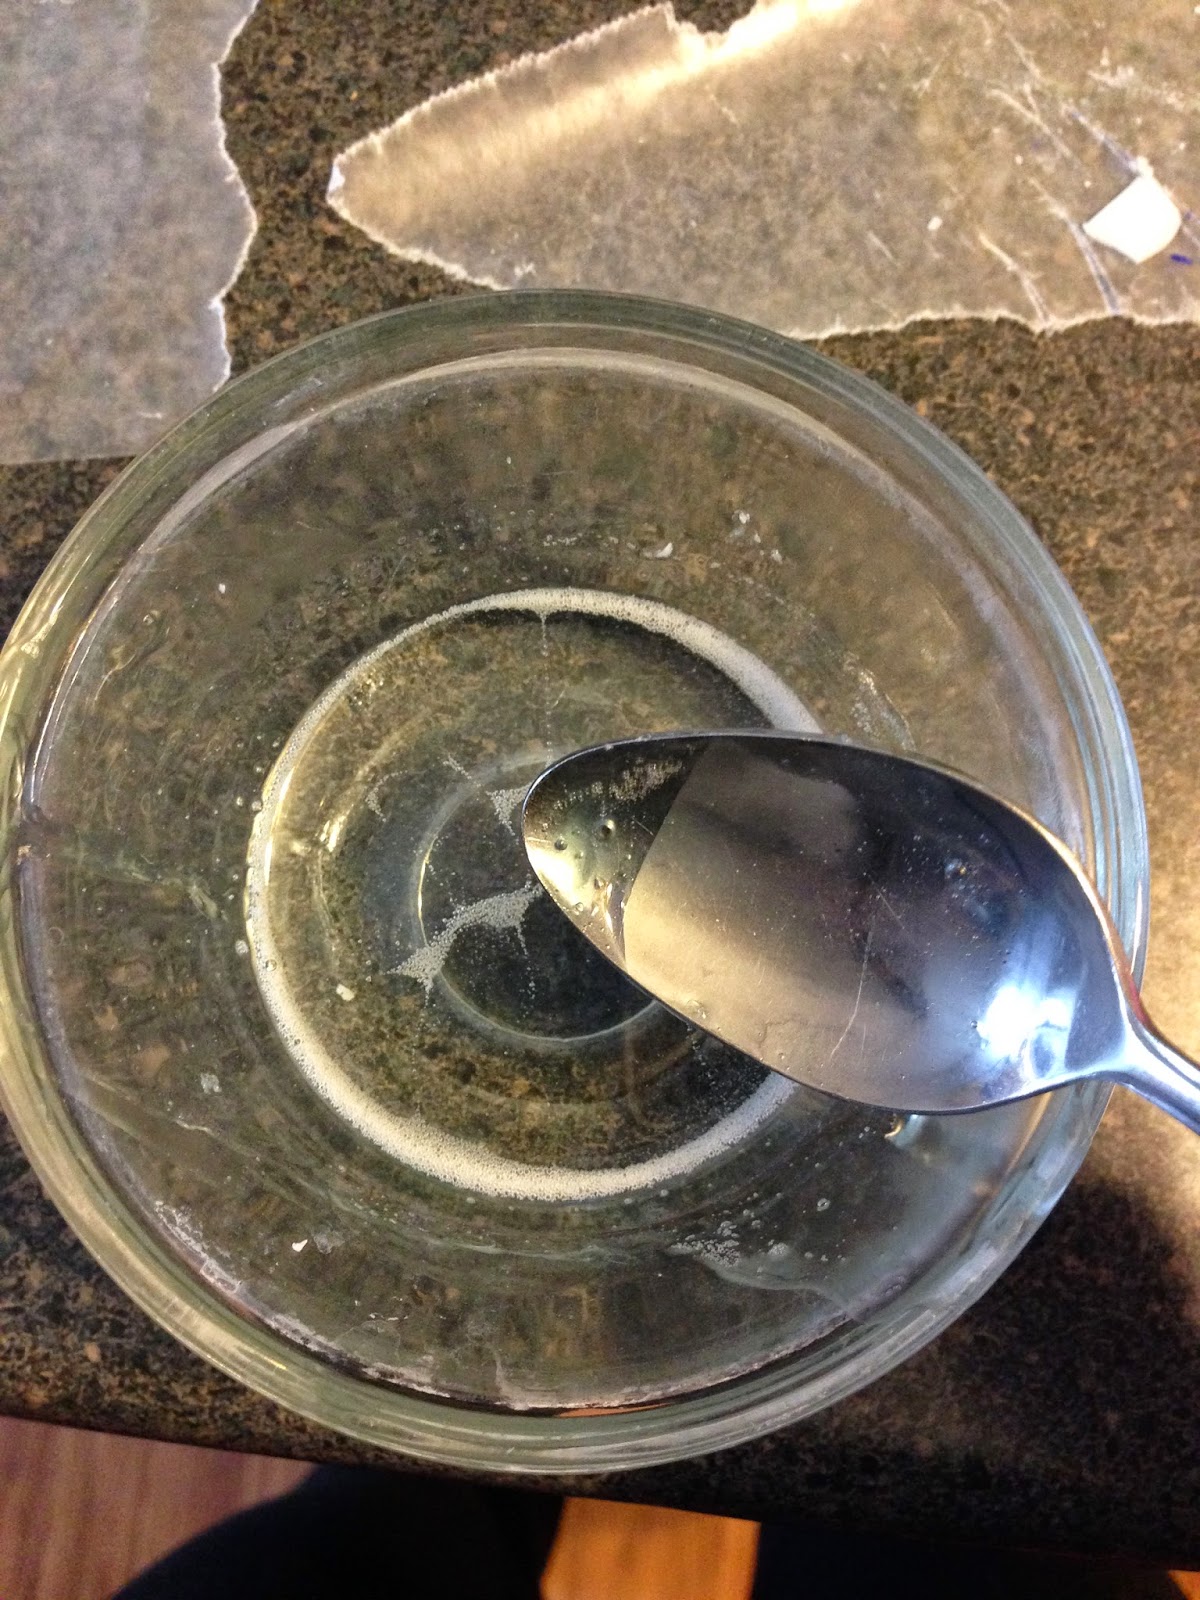
I used about 3 oz of clear glycerin soap base. (I get mine from Hobby Lobby, because they put it on sale a lot and I am still experimenting for now!)
When I'm only melting small amounts at a time, I just pop the base into the microwave for about 20 seconds. If its not completely melted, another 10 seconds is usually enough to get it melted all the way through.
I also added some color to my soap. This lovely color I got from Bramble Berry, and have really enjoyed it so far.


After melting, and adding the color, I added a small bit of the melted base to the bottom of the mold and sprayed it with rubbing alcohol. I love using silicone molds because the soaps come out so easily!
Then I sprayed little shea butter soap base shavings and the rubber duck with rubbing alcohol, placing them into the blue soap base.

This small layer keeps the duck and shavings in place when I add the rest of the soap base. Once it hardened, I put the rest of the soap base into the mold.
Something I have to remember, is to make sure the soap base isn't too hot. If I add it when it's too hot, it'll just melt right through the bottom layer, then the duck and shavings will just float away...
(Yes, I did find this out the hard way.)
After letting it harden for 45 minutes, I had my Rubber Ducky Fun soap!!

I was so excited to finally get this done the proper way. Practice does make perfect!!
No comments:
Post a Comment
I love comments!! So, feel free to comment whenever you so desire. :)